
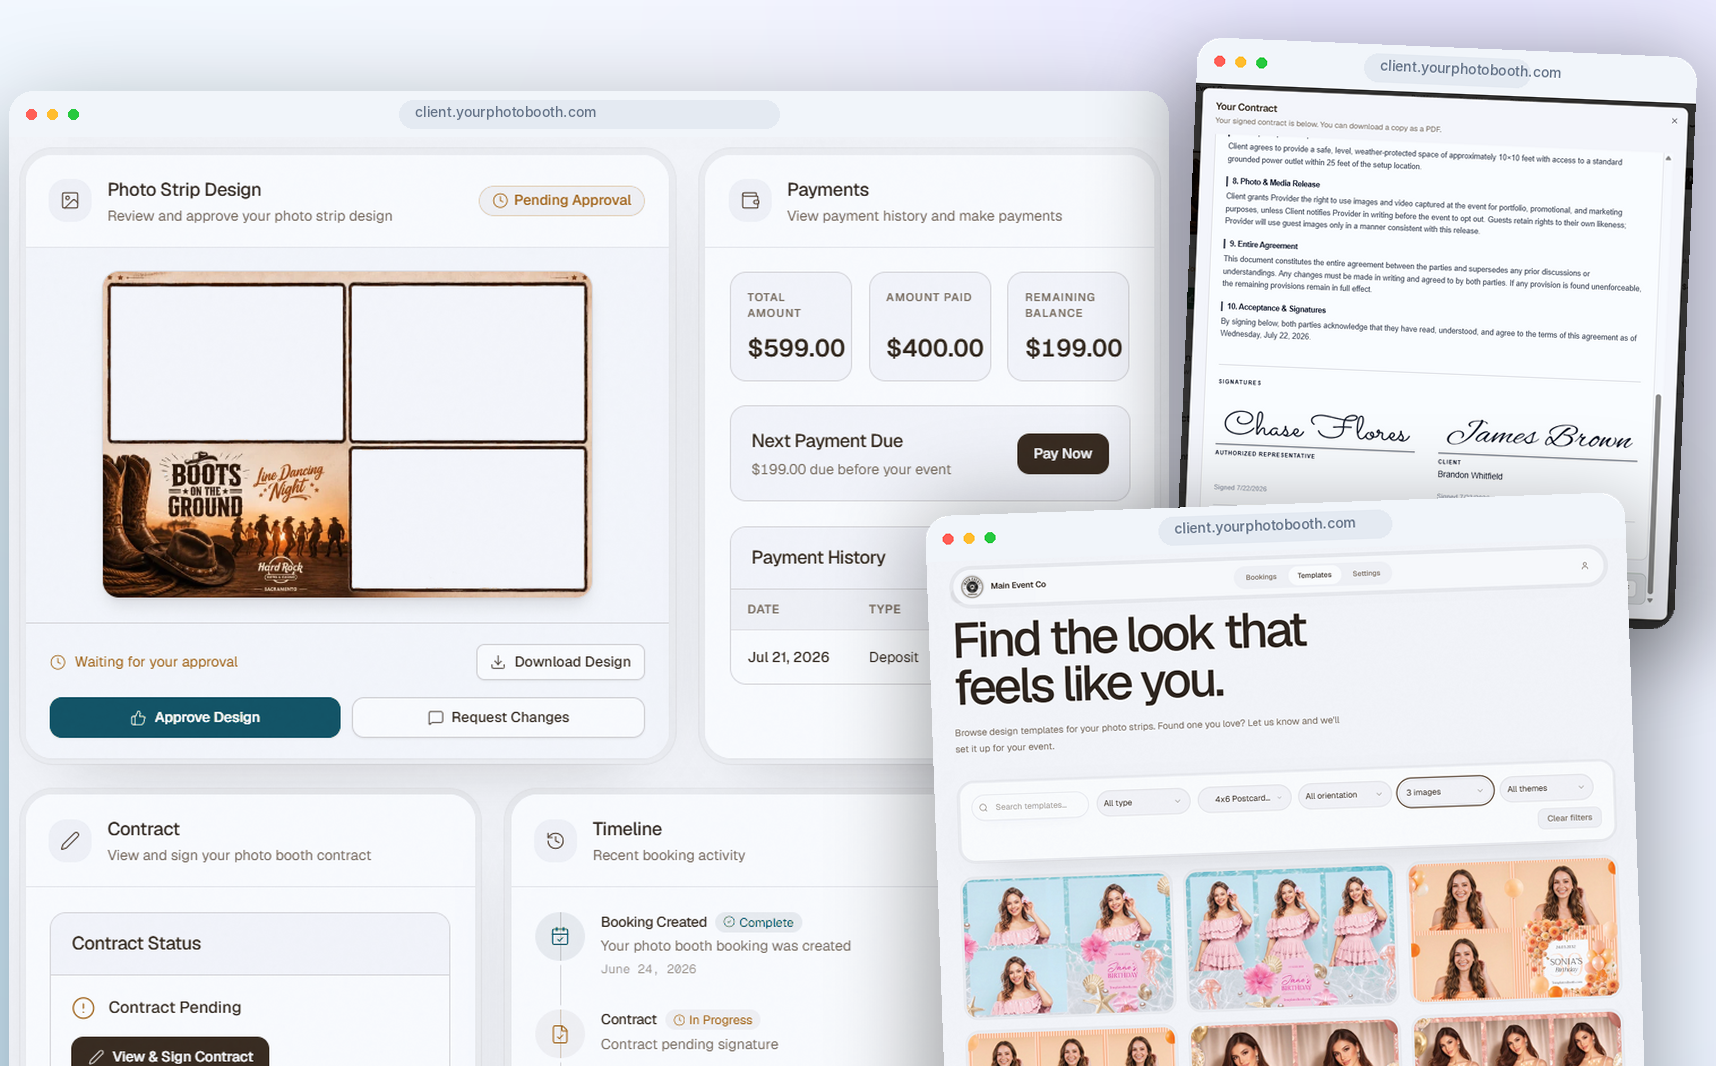
They sign, pay, and approve in one place.
The client portal gives them one place to sign, pay, approve their design, review their event information, and access their gallery. You do not need to send a separate link for every task.
How BoothIQ works
BoothIQ connects every stage of the photo booth booking, from the first inquiry through the final gallery, without making you enter the same information again and again.
$0 today · Card required · Cancel anytime
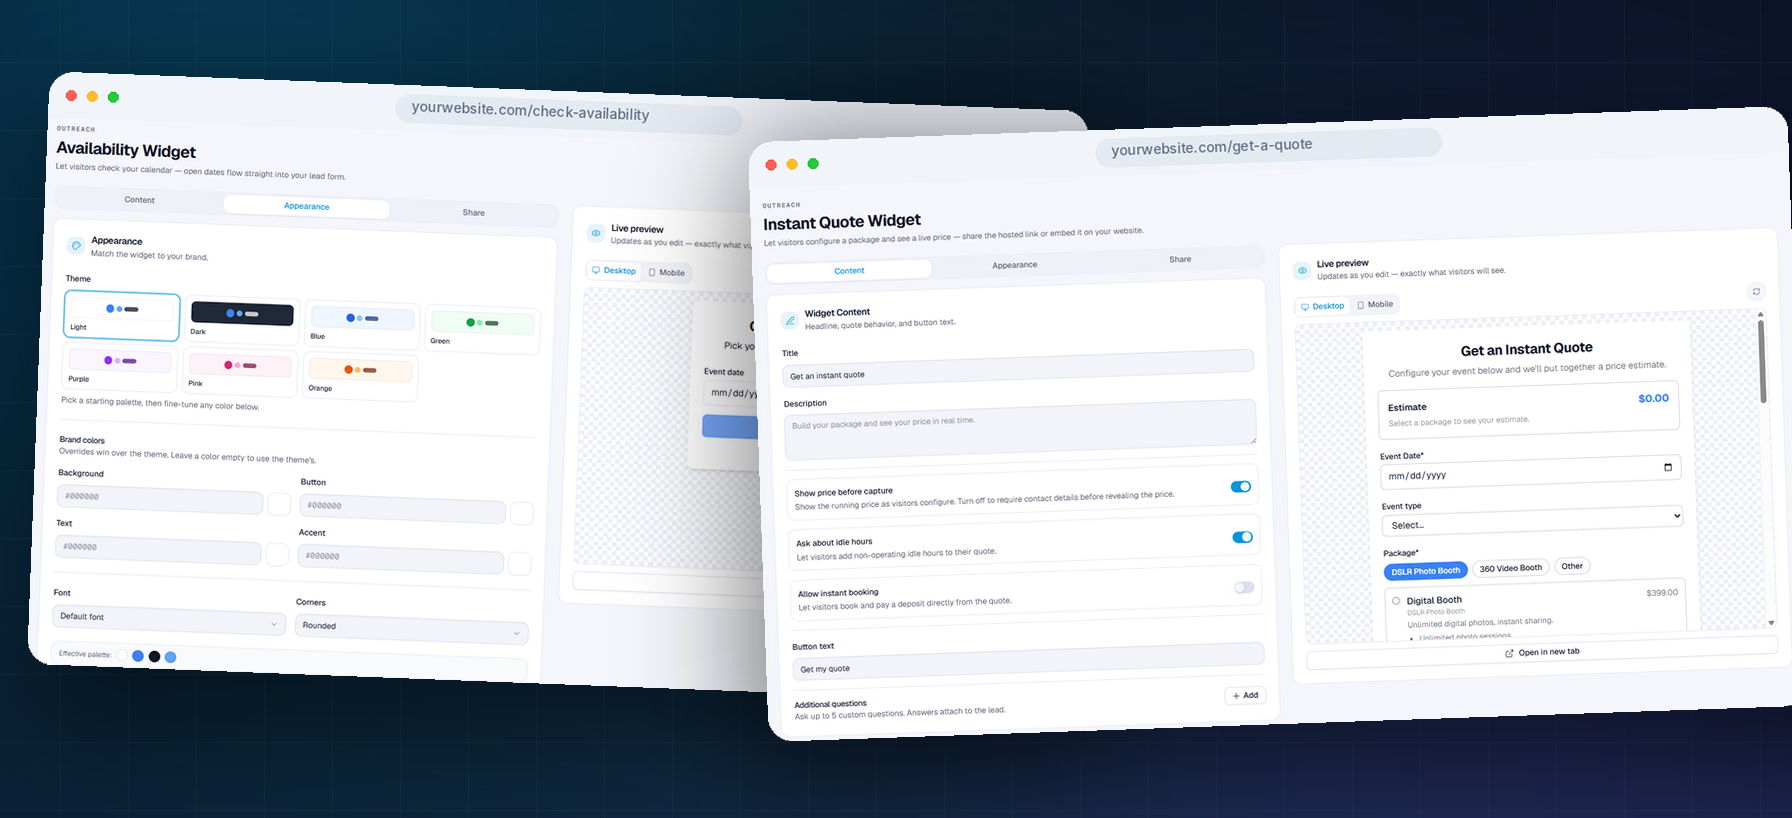
Add a BoothIQ inquiry form, availability checker, or package experience to your website, or share the hosted link directly.
Every submission becomes a lead with the client and event information attached.
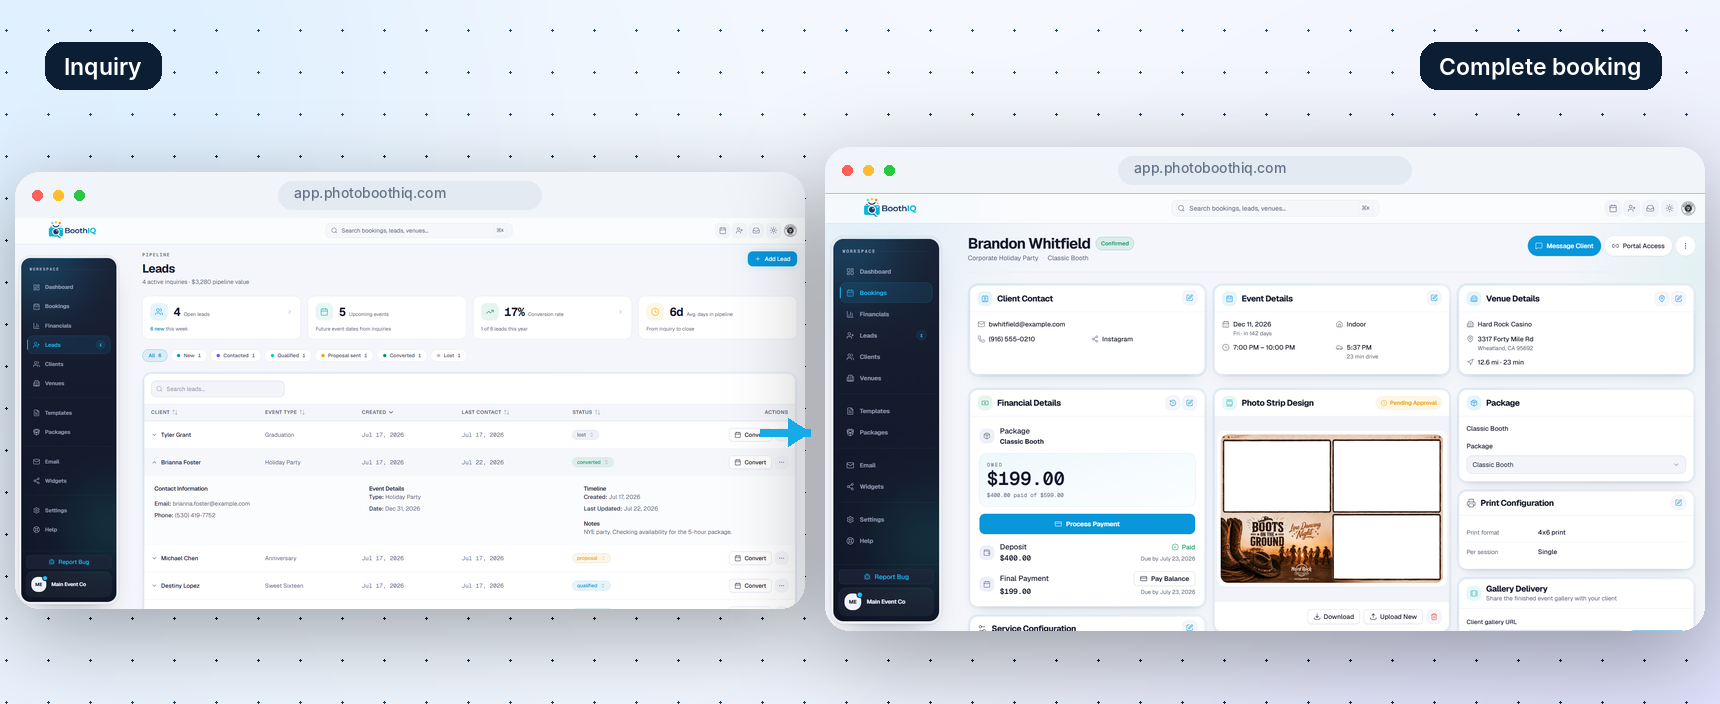
Review the inquiry, select the appropriate package, and convert it.
BoothIQ carries the client, venue, package, and event information into the booking instead of sending you back to an empty form.
Create the contract, collect signatures, and accept the deposit through your connected Stripe account.
The agreement, payment history, remaining balance, receipts, and booking status stay attached to the event.
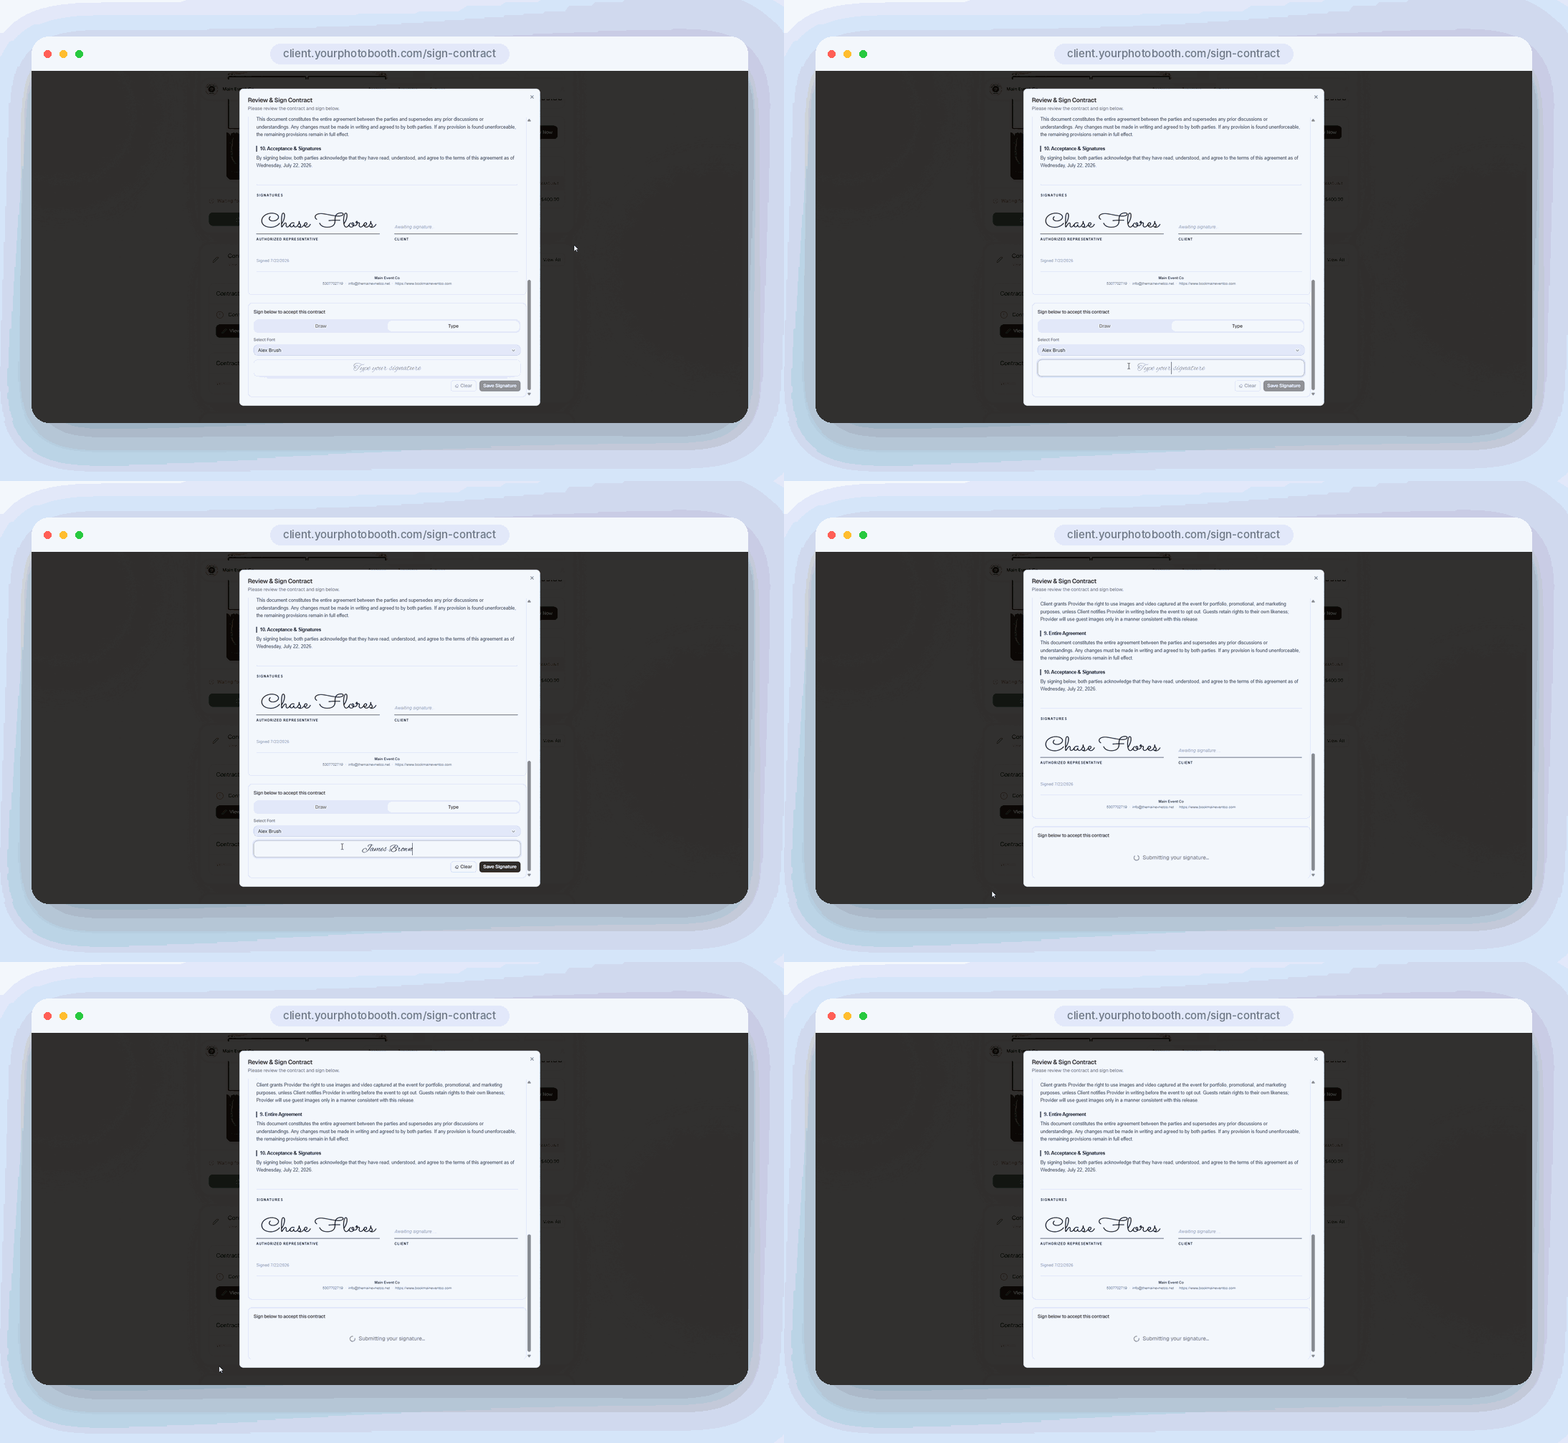
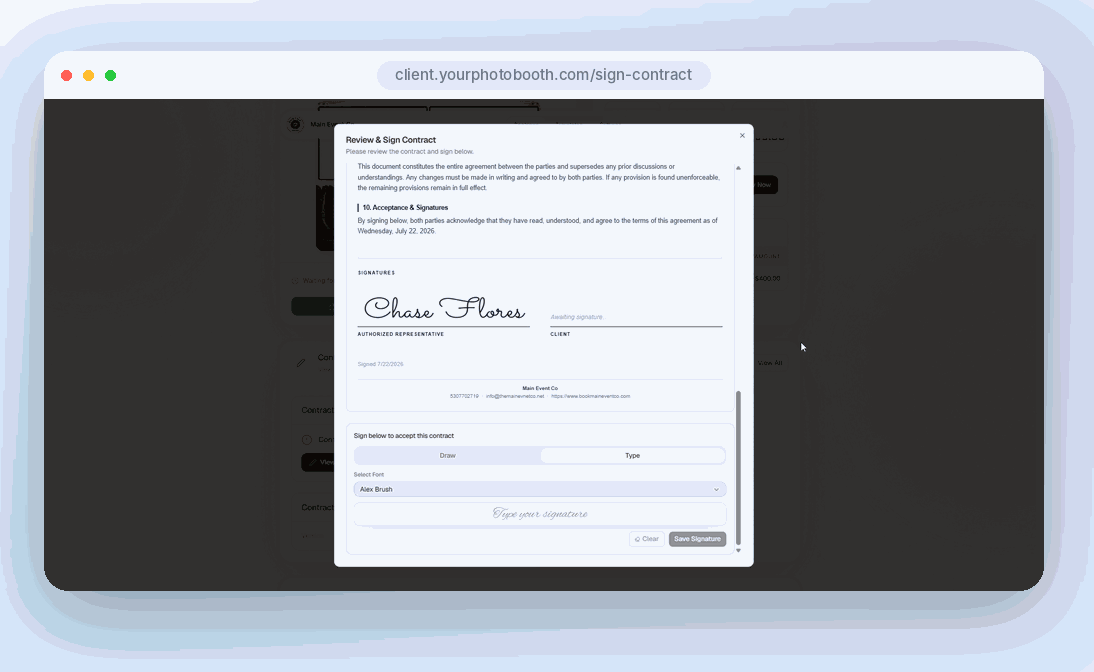
The client portal gives them one place to sign, pay, approve their design, review their event information, and access their gallery. You do not need to send a separate link for every task.
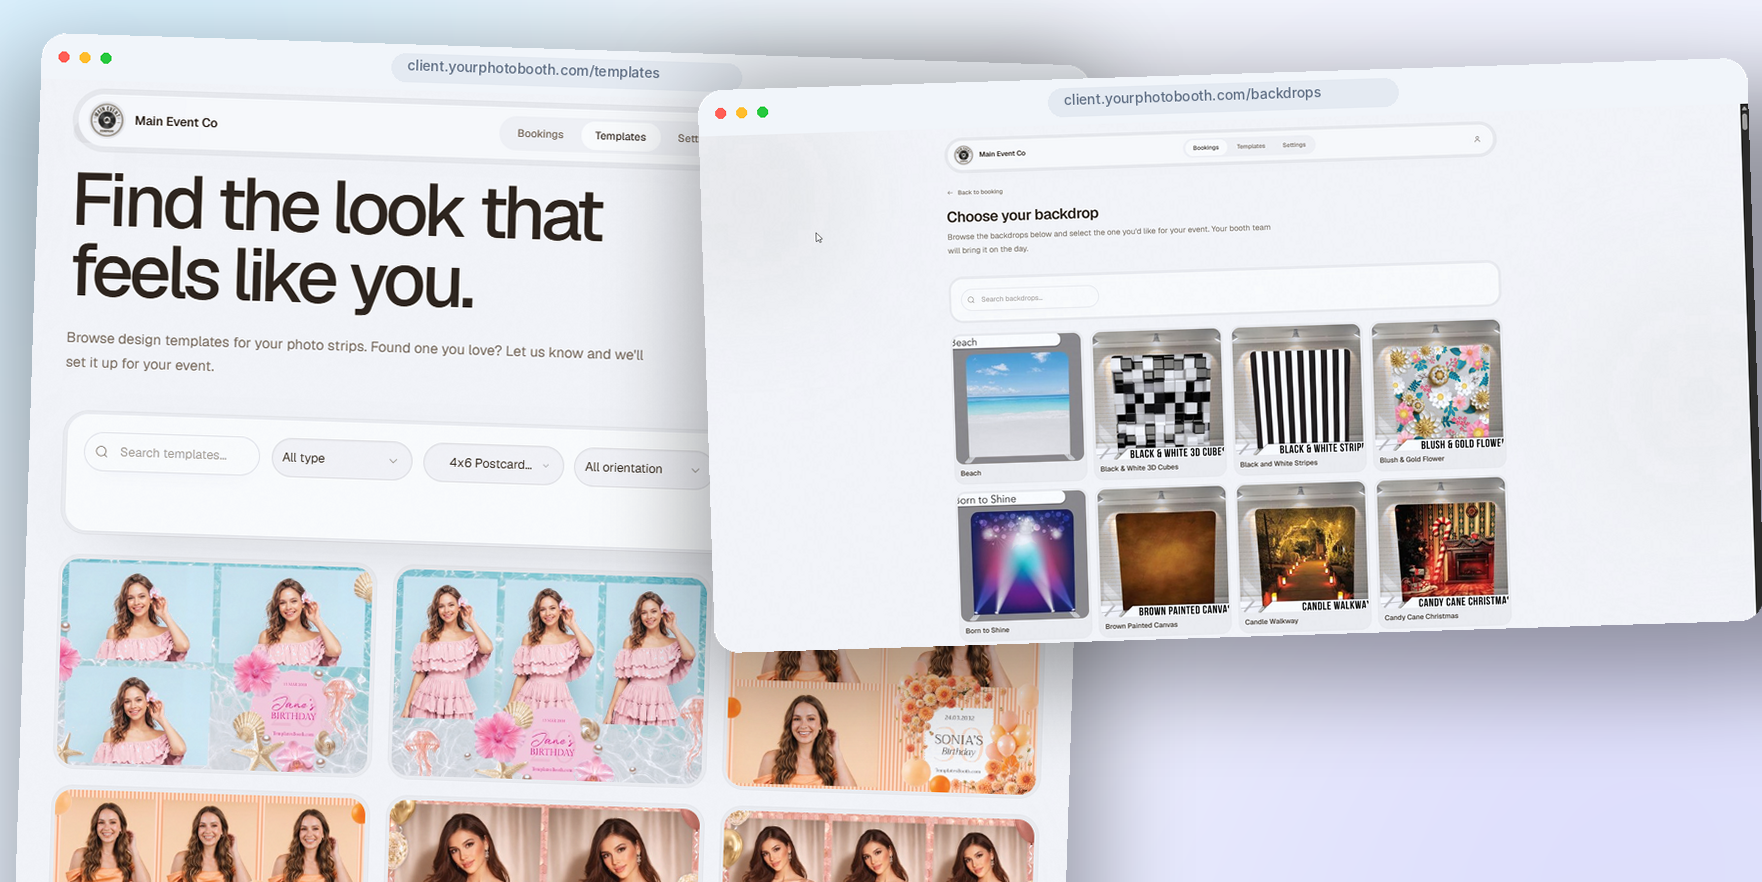
Clients browse the photo-strip templates and backdrops you make available, then submit their choices through the portal. Their selections stay connected to the booking instead of getting buried in messages.
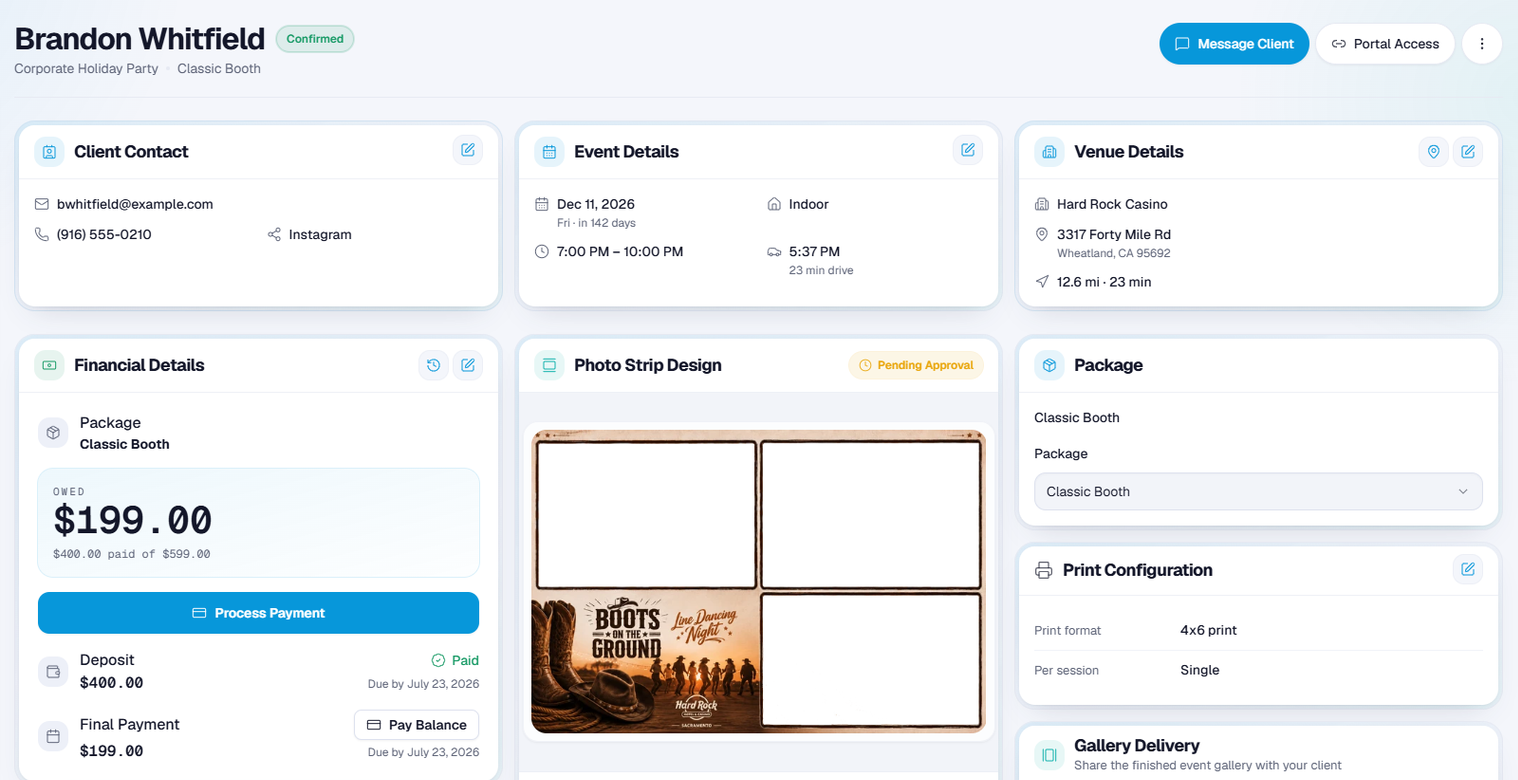
BoothIQ keeps the operational information with the booking.
Everything needed for the event remains part of one record.
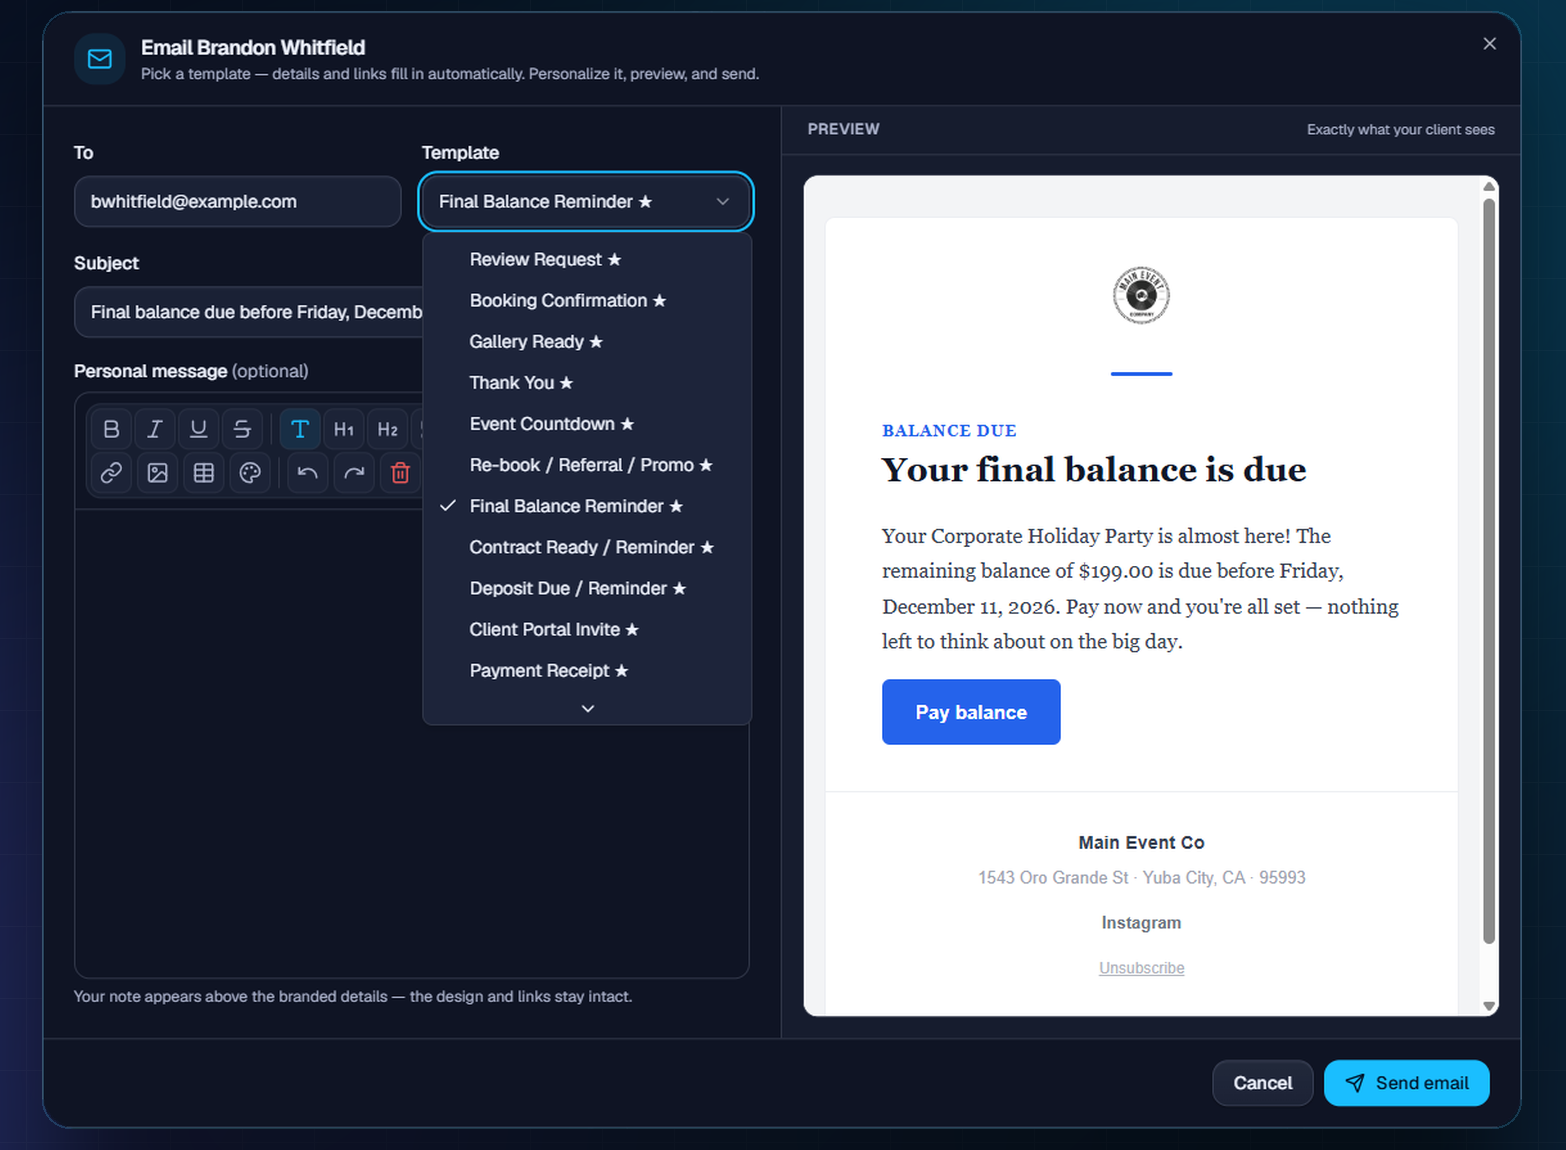
Use BoothIQ’s email templates and automation to send routine client communication at the appropriate stage of the booking.
The booking information and merge fields are already available to the message.
Your workspace
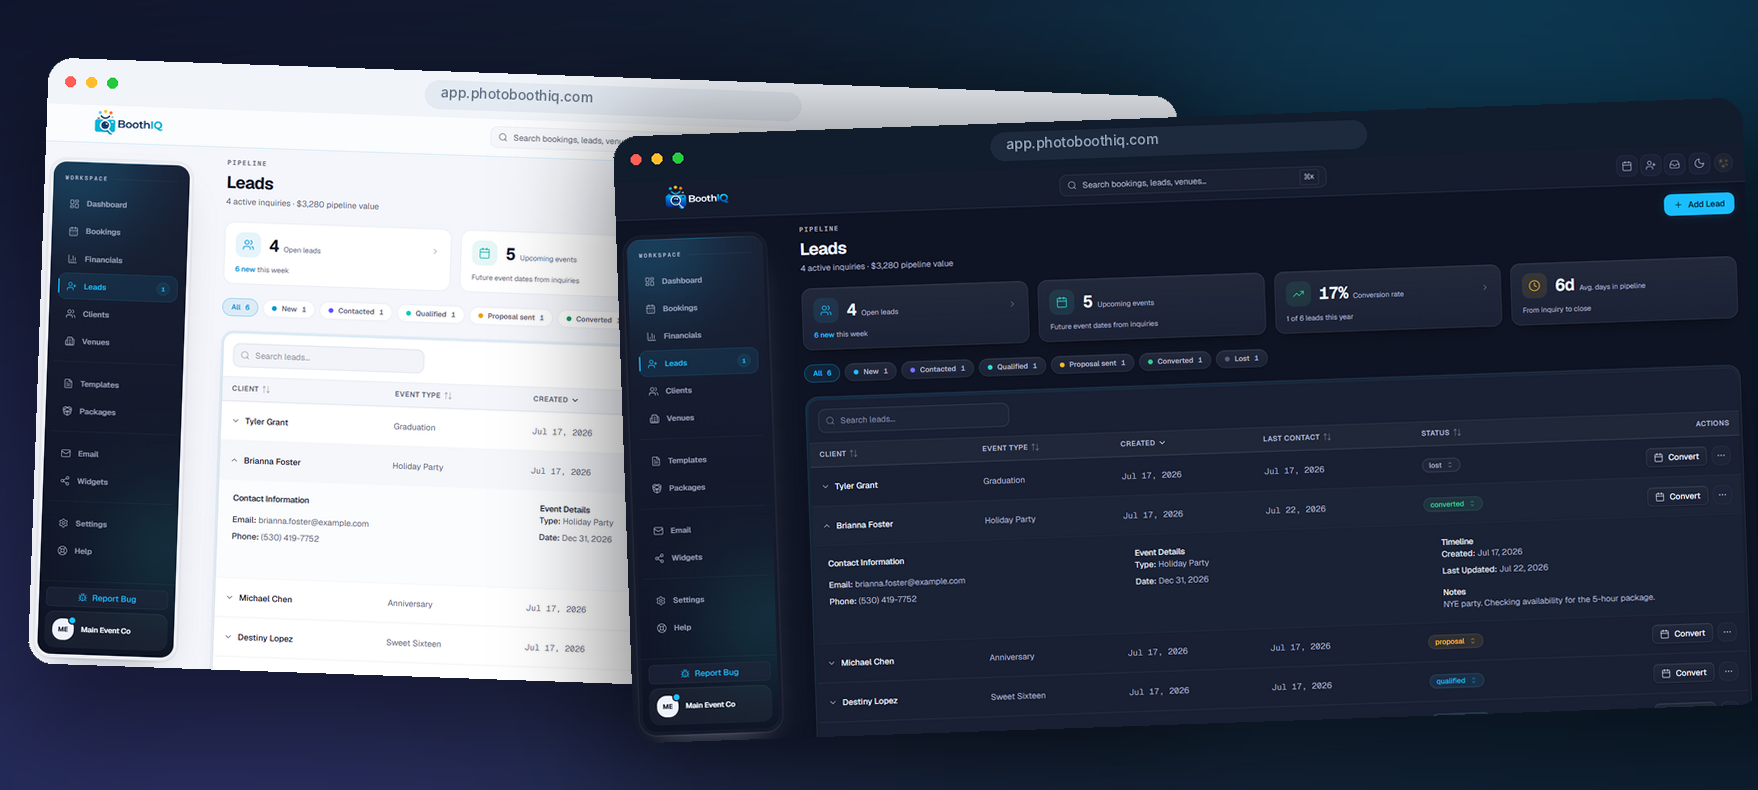
BoothIQ follows the theme you prefer to work in, on the desktop and on the phone you actually run events from.
$0 today · Card required · Cancel anytime